
Apex Legends Shield Swap & Movement Guide: Sub-Second Tech & Mechanics
A sub-second shield swap requires disabling 'Taking Damage Closes Deathbox Menu', snapping cursor to the top armor slot upon pressing interact, and jumping out of the box in under 0.4 seconds. Pair this with slide-jumping every 2.5 seconds (to avoid dead-slides) and wall bouncing to outplay aggressive pursuers.
Executive Overview: The Kinetic Skill Ceiling
Movement in Apex Legends is not merely a traversal tool; it is an active defensive weapon. The game operates on a momentum-based physics engine where kinetic energy can be transferred into slides, wall rebounds, and mantle cancellations. Combining fluid 3D movement mechanics with instantaneous Death Box Shield Swapping allows a solo player to sustain continuous pressure against full three-player squads.
Quick Answer: The cornerstone of survival in high-tier lobbies is the Sub-Second Armor Swap. Replacing a shattered body shield by looting a fresh shield from a defeated enemy's death box takes approximately 0.35 seconds, immediately restoring 75 to 125 effective hit points without spending 5 seconds applying a Shield Battery.
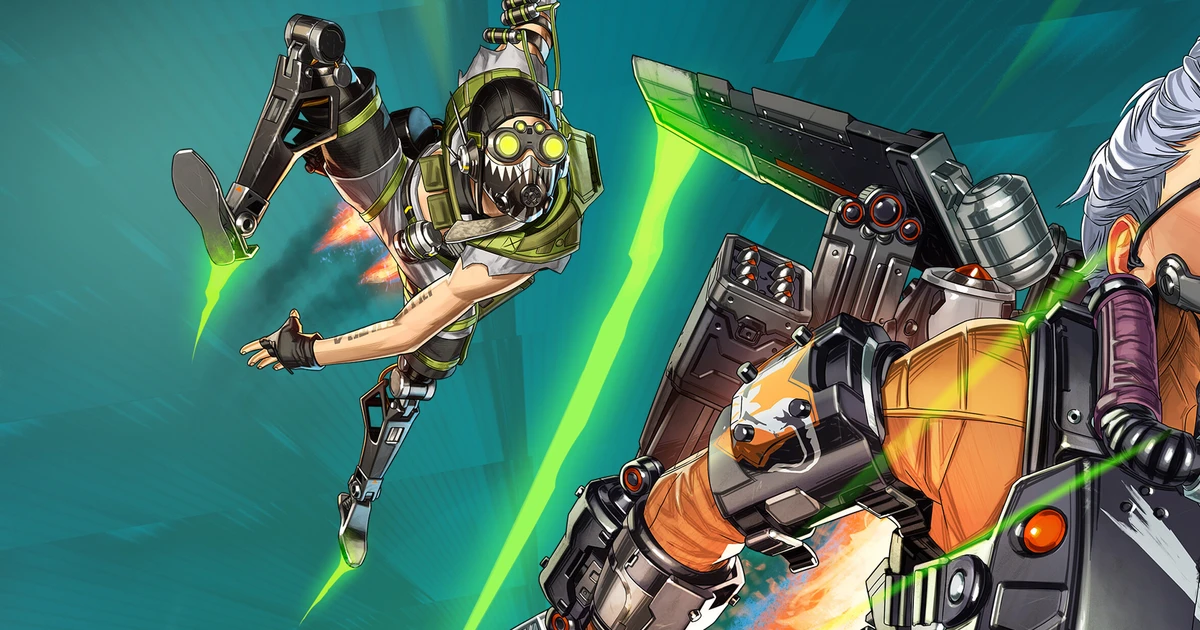
The Sub-Second Shield Swap Protocol
Executing a flawless shield swap while under active enemy gunfire requires specific settings configurations and muscle-memory cursor snapping.
Mandatory Setting Prerequisite
- Navigate to Settings -> Gameplay.
- Locate Taking Damage Closes Deathbox Menu and toggle it to DISABLED / OFF.
- Why: If left on, taking a single stray bullet (even 1 damage from a distant shotgun pellet) will automatically kick your screen out of the death box interface, stalling your swap and resulting in death.
Sub-Second Shield Swap Micro-Sequence:
Frame 0ms:   Press [Interact / E] while approaching death box at a slide.
Frame 100ms: Death box inventory UI loads on screen.
Frame 150ms: Mouse cursor snaps to the Top Left slot (Armor Core position).
Frame 220ms: Left-Click once on the Armor Core.
Frame 300ms: Press [Jump / Spacebar] or [Crouch] to cancel UI and immediately exit.
Total Time:  ~300ms to 380ms (Instant +75 to +125 HP restored).
Controller Shield Swapping Optimization
For controller players on console or PC:
- Increase Menu Cursor Speed in Controller Settings to approximately 75% to 85%. A slow cursor makes it impossible to drag over the armor icon before enemy fire tracks your stationary model.
- Execute a Jump-Slide directly into the death box, holding the interact button during the slide. The momentum will carry your character sliding through the box while you snap your analog stick to grab the armor.
Velocity Physics & The Slide-Jump Mechanic
Movement velocity in the Source Engine is measured in Units Per Second (UPS). Understanding how your sprint transitions into slide acceleration dictates when you should slide:
Movement Speed Benchmarks:
- Standard Holstered Sprint:  260 UPS
- Weapon Drawn Sprint:        235 UPS
- Initiating Slide Peak:      299 UPS (+15% burst acceleration)
- Terminal Slide Falloff:     Decreases to < 180 UPS if held too long
The "Dead Slide" Phenomenon & Prevention
A "dead slide" occurs when a player attempts to initiate a crouch-slide before their movement engine resets, causing their character to squat into a sluggish duck-walk (140 UPS) instead of accelerating into a slide.
- The Internal Cooldown Rule: The slide mechanic has an internal cooldown of approximately 2.5 to 2.8 seconds.
- The Three-Stride Indicator: After performing a slide-jump, you must take three distinct footstep sounds (audible footsteps) while sprinting before pressing crouch again. Adhering to this 3-step rhythm guarantees 100% consistent slide-jumps with zero dead slides.
Advanced Movement Techniques: Step-by-Step
1. The Wall Bounce (Kinetic Ricochet)
The wall bounce redirects your forward momentum into an explosive lateral or backward leap off any flat vertical surface, making you almost impossible to track around corner chokes.
- Approach: Sprint and slide-jump toward a flat wall at an angle of 30 to 60 degrees.
- Release Direction: Crucial step: Release the forward movement key (W) completely the instant before touching the wall. Holding forward triggers a climbing mantle animation instead of a bounce.
- The Rebound: The millisecond your character makes physical contact with the wall surface, tap [Jump] once.
- Result: Your model bounces violently off the masonry, launching 5 meters into the air with zero vertical velocity loss, allowing you to fire down onto opponents waiting behind the corner.
2. The Superglide (Mantle Edge Acceleration)
The superglide is the fastest personal movement acceleration in the game, instantly propelling a player from a ledge at over 400 UPS.
Superglide Timing Window:
1. Initiate mantle climbing onto a ledge, box, or wall.
2. Observe the mantle animation: Dylan / Legend climbs up until feet reach the platform.
3. At the exact frame the mantle animation concludes (approx. 1-frame window):
   Input [JUMP] immediately followed by [CROUCH] within ~10 milliseconds.
4. If successful, your character launches forward in a low-trajectory horizontal missile trajectory.
- Execution Tip: Binding Crouch to a comfortable thumb key or mouse button aids simultaneous jump-crouch actuation.
3. Tap-Strafing (PC Keyboard & Mouse)
Tap-strafing exploits directional lurch mechanics to execute instantaneous 90-degree and 180-degree turns mid-air without losing forward speed.
- Keybind Configuration: Bind Move Forward as a secondary keybind to Mouse Wheel UP (
mwheelup), and Jump to Mouse Wheel DOWN (mwheeldown). - Execution: Perform a slide-jump. Release forward (W), hold a directional strafe key (A or D), and flick the mouse wheel up rapidly while turning your camera. Each tick of the mouse wheel sends a micro-forward input, causing the engine to redirect your mid-air momentum cleanly along your camera vector.
Tactical Movement Anti-Patterns
- Jumping in Open Mid-Range Gunfights: In open terrain, jumping locks your character model into a predictable parabolic ballistic arc that cannot be altered mid-air. Skilled opponents will beam you effortlessly on the descent. Reserve jumping for close-quarters corner peeks and obstacle traverses.
- Crouch-Spamming Too Rapidly: Pressing crouch repeatedly faster than 0.2-second intervals does not lower your character's visual hitbox further; rather, it locks your model into a semi-crouch that reduces your own ADS strafe speed while keeping your head at chest-height. Pace your crouches with a rhythmic down-up cadence.
- Standing Still While Shield Swapping: Even when opening a death box, never stand stationary. Input continuous A-D strafe wiggles on keyboard or spin in tight circles to prevent sniper headshots while looting.
Frequently Asked Questions
Why does a fresh death box sometimes contain a broken shield?
When a player is eliminated, their death box automatically restores their body armor to 100% full shield capacity, regardless of whether their shield was completely shattered during the duel. However, if an enemy has already looted that death box and deposited their own empty shield inside, the armor will remain empty. Always check the color and nameplate before swapping.
Can controller players execute tap-strafing?
Native tap-strafing relies on high-frequency directional keyboard lurch commands (e.g. mouse wheel forward inputs) which do not exist within analog stick inputs. While third-party remapping software previously enabled this, competitive and ALGS rules strictly restrict external macro configurations. Controller players achieve evasive movement through high-sensitivity rotational slide-jumping and wall bouncing instead.
What is the fastest way to break an enemy door when they are blocking it?
Instead of performing two slow melee kicks (which consumes 2.4 seconds and leaves you vulnerable), fire an explosive ordnance (Thermite or Frag Grenade) at the base of the door, or shoot the door handle with a Rampage LMG (when thermite revved) or 30-30 Repeater to shatter it instantly from safe range.
To pair your advanced mobility with the most devastating close-range firearms, read our Apex Legends Weapons Tier List. For strategic map rotation routes, see our Map Callouts & Rotations Guide.